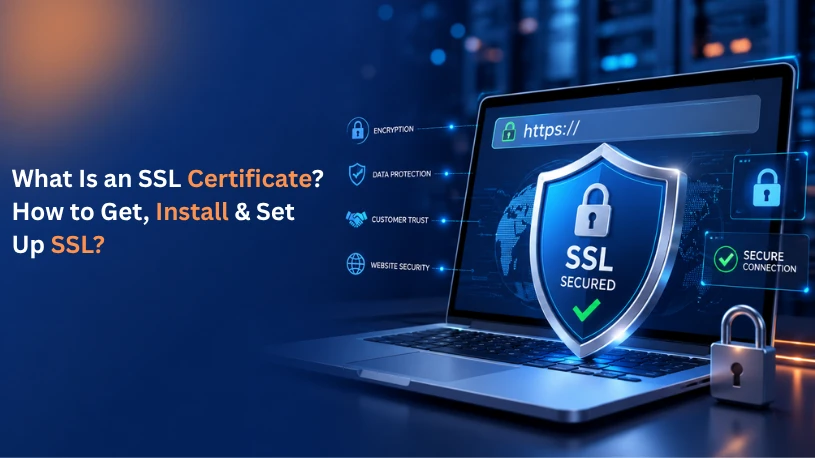
If you've ever noticed a small padlock icon next to a website's address, you've seen SSL in action. It's one of the most important and most misunderstood pieces of the modern web. This guide covers everything you need to know: what an SSL certificate actually is, why your site needs one, how to get one, and how to install and set it up correctly.
What Is an SSL Certificate?
An SSL certificate (Secure Sockets Layer certificate) is a small data file installed on a web server that creates an encrypted connection between the server and a visitor's browser. It ensures that any information exchanged passwords, credit card numbers, personal details travels privately and can't be intercepted or read by anyone in between.
Technically, most of the web now uses TLS (Transport Layer Security), the successor to SSL. But "SSL" stuck as the common industry term, so "SSL certificate" and "TLS certificate" are used interchangeably today.
When a website has SSL properly installed, you'll notice:
- A padlock icon in the browser's address bar
- The URL starts with https:// instead of http://
- Browsers won't show a "Not Secure" warning
How Does an SSL Certificate Work?
SSL relies on something called public key cryptography, using a pair of keys:
- Public key – shared openly and used to encrypt data sent to the server
- Private key – kept secret on the server and used to decrypt that data
When a browser connects to a site with SSL, the two perform what's called an SSL/TLS handshake:
- The browser requests a secure connection
- The server sends its SSL certificate, including its public key
- The browser verifies the certificate is valid and trusted
- Browser and server agree on encryption keys for that session
- Encrypted data now flows securely between them
This all happens in milliseconds, invisibly, every time you load a secure site.
Why SSL Certificates Matter
- Data security – Encrypts sensitive information like logins, payment details, and personal data
- Trust and credibility – Visitors are more likely to trust and stay on a site with the padlock icon
- SEO benefits – Google has confirmed HTTPS as a ranking signal
- Compliance – Required for PCI DSS compliance if you handle payments, and expected under many data protection regulations
- Browser requirements – Modern browsers actively flag non-HTTPS sites as "Not Secure," which drives visitors away
SSL is just one piece of the puzzle — the hosting environment itself plays a big role too. See how web hosting affects website security for a closer look.
Types of SSL Certificates
Before getting one, it helps to know which type fits your site.
By validation level:
- Domain Validated (DV) – Verifies only domain ownership. Fast to issue, good for blogs and personal sites.
- Organization Validated (OV) – Verifies the organization behind the domain. Better for business websites.
- Extended Validation (EV) – The most rigorous vetting process, ideal for e-commerce and financial sites handling sensitive transactions.
By domain coverage:
- Single-domain – Covers one domain only
- Wildcard – Covers a domain and all its subdomains (e.g., *.yourdomain.com)
- Multi-domain (SAN) – Covers multiple, unrelated domains under one certificate
How to Get an SSL Certificate
There are a few routes, depending on your budget and technical setup.
Option 1: Free SSL via Let's Encrypt
Let's Encrypt is a nonprofit Certificate Authority (CA) offering free, automated DV certificates trusted by all major browsers. It's the most common choice for personal sites, blogs, and small businesses.
- Certificates are valid for 90 days and auto-renew with the right tooling
- Most hosting providers offer one-click Let's Encrypt installation
Option 2: SSL Through Your Hosting Provider
Many hosts (Bluehost, SiteGround, Hostinger, GoDaddy, etc.) bundle a free SSL certificate — usually via Let's Encrypt — directly into hosting plans, often activated automatically or with one click in the control panel (cPanel, Plesk, or a custom dashboard). Providers like Datanet Hosting SSL Certificates service also offer both free and premium certificate options bundled with support.
Option 3: Purchase from a Certificate Authority
For OV or EV certificates, or extended warranty and support, you can buy from a CA such as DigiCert, Sectigo, or GlobalSign — either directly or through a reseller. This route suits larger businesses or e-commerce sites needing higher validation levels.
General Steps to Apply for an SSL Certificate
- Choose your certificate type (DV, OV, EV, wildcard, multi-domain)
- Generate a CSR (Certificate Signing Request) on your server — this contains your public key and domain details
- Submit the CSR to your chosen CA or hosting provider
- Complete domain validation — usually by adding a DNS record, uploading a file, or confirming via email
- Receive your certificate files from the CA once validation completes
How to Install an SSL Certificate
Installation steps vary slightly by platform, but the general process looks like this:
Step 1: Generate a CSR and Private Key
On your server (or via your hosting control panel), generate a Certificate Signing Request and a private key. Keep the private key secure — never share it.
Step 2: Get the Certificate Issued
Submit your CSR to the CA. After validation, you'll receive:
- Your SSL certificate file
- An intermediate certificate (chain file) linking your certificate to a trusted root
- Sometimes a bundled root certificate
Step 3: Upload and Install the Certificate
- cPanel: Go to SSL/TLS Manager → Install and Manage SSL for your site → paste in the certificate, private key, and CA bundle
- Plesk: SSL/TLS Certificates → Upload Certificate → select the domain and apply
- Nginx/Apache (manual server): Place the certificate and key files on the server, then update the server block/virtual host configuration to reference their paths
- Managed platforms (Shopify, WordPress.com, etc.): SSL is typically automatic — no manual installation needed
Step 4: Verify the Installation
Use a free tool like SSL Labs' SSL Test to check that your certificate is installed correctly, the chain is complete, and there are no configuration warnings.
How to Set Up SSL After Installation
Installing the SSl certificate is only half the job — you also need to configure your site to use it properly.
- Force HTTPS redirects – Redirect all http:// traffic to https:// using a 301 redirect (via .htaccess, Nginx config, or your hosting panel)
- Update internal links – Make sure internal links, images, and scripts reference https:// URLs to avoid "mixed content" warnings
- Update your CMS settings – In WordPress, update the Site Address and Home URL under Settings → General to use https://. If you're moving your site to a new host at the same time, this guide on how to migrate a WordPress site walks through the process
- Enable HSTS (optional but recommended) – HTTP Strict Transport Security tells browsers to always use HTTPS for your domain
- Update your sitemap and robots.txt – Ensure they reference the https:// version of your site
- Re-verify in Google Search Console – Add the https:// version as a property and update your preferred domain
- Set up auto-renewal – Especially important for Let's Encrypt certificates, which expire every 90 days
Common SSL Installation Issues
- Mixed content warnings – Some resources (images, scripts) still load over http://
- Certificate chain errors – The intermediate certificate wasn't installed alongside the main certificate
- Expired certificates – Renewal wasn't automated or was missed
- Wrong domain match – Certificate doesn't cover the exact domain/subdomain being accessed
Final Thoughts
An SSL certificate isn't optional anymore — it's the baseline expectation for any website handling user data, aiming to rank well on Google, or simply trying to look trustworthy. Whether you go with a free Let's Encrypt certificate through your host or a paid OV/EV certificate for a business site, the process boils down to the same core steps: choose the right certificate type, validate your domain, install the certificate correctly, and configure your site to enforce HTTPS everywhere.
Once it's set up and auto-renewal is in place, SSL becomes something you rarely have to think about again — which is exactly how security should work.
Get SSL & Hosting Services from Datanet Hosting
If you'd rather skip the manual setup and let experts handle it, Datanet Hosting offers complete SSL certificate and web hosting solutions designed to get your site secure, fast, and fully protected — without the hassle.
With Datanet Hosting, you get:
- Free & Premium SSL Certificates – Includes free Let's Encrypt SSL with every hosting plan, plus premium OV/EV certificates for businesses and e-commerce sites
- One-Click SSL Installation – No manual CSR generation or server configuration needed, available across Linux shared hosting, Windows shared hosting, and WordPress hosting plans
- Automatic SSL Renewal – Never worry about an expired certificate taking your site offline
- 24/7 Expert Support – Get help with installation, mixed content fixes, HSTS setup, and more
- Reliable, High-Performance Hosting – Fast servers built to keep your secured site running smoothly, backed by strong data protection and backup practices
Ready to secure your site? Get in touch with Datanet Hosting today to get your SSL certificate and hosting set up the right way.